Sunny March Days in the Garden
The Crown Hill Community Garden is always up to something interesting. There are multiple projects going now, and continued dreams for growing an urban edible forest. Check back for weekly updates on what the garden is up to, how you can help, and tips for your garden!

Stop by on Saturday!
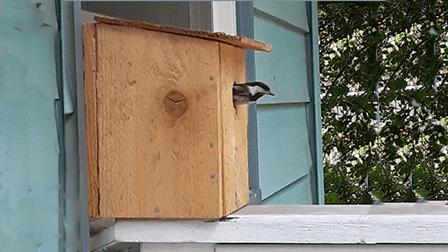
Join the gardeners at the Crown Hill Community Center to build bird houses and help plant flowers and vegetables.
Saturday March 13th
12pm – 4pm
** Dahlia and Crocosmia bulb giveaway **

What’s Growing
- Parsley – planted last spring. This is its second year! The gardeners look forward to harvesting seeds to share!
- Lettuce – some planted two months ago, some more recently below the cloches.
- Chard
- Garlic
- Kale – planted 2 weeks ago. Gardener Fred says it’s a bit early for Kale, but the weather is warm enough you may as well toss some seeds in and see what happens.
- Peas – some overwintered, some planted 2 and 3 weeks ago.
- Echinacea – this flowering herb wants to be cold before it grows, so gardener Christal recommends getting it in now!
Sage Advice
“No garden ever looks as good as a gardener wants it to.” – Gardener Fred
Donation Request
Did you order something that came with one of those “do not eat” desiccant packages? Drop them to the garden! The gardeners store and shares all sorts of seeds and those little packages help to keep everything dry and ready to grow.
If You Do One Thing This Week
Avoid mummy berries! Do you have blueberry bushes? Now is the time to re-mulch. Clean up around the bushes, making special care to remove debris dropped by the blueberry bush. You can move the compost to any spot that doesn’t have a blueberry bush. Add fresh mulch.

DIY Project
Build a cloche!
If you walk by the garden at the Crown Hill Center you will notice a series of very simple, small structures – these are cloches. The gardeners built their cloches reusing items destined for the trash.
Materials
- 3 poles: wood, bamboo, or metal
- Plastic sheeting
- Old yard signs
- binder clips or wire ties
- rocks or bricks to act as weights.
1- Cut yard sign into triangle. Repeat to make second triangle.
2- Cut three holes into the triangle – one on the top and two half way down the side. Repeat for second triangle.
3- Attach the poles to the yard sign triangles by running them through the holes you cut.
4- Cover with plastic sheeting and secure to the poles using binder clips or wire.
5- Place rocks or brick on the plastic to weight it to the ground.
6- Watch your plants get a head start!

Tip on finding plastic sheeting: Gardener Christal salvaged this plastic from the Bedrooms and More Outlet on 130th and Aurora. She said she calls ahead to let them know she is coming. She also recommends you leave the dumpster as tidy as you find it. Gardener Fred pointed out that the plastic is not weather resistant, so put them in the shade during the summer and throw away once you notice them cracking.